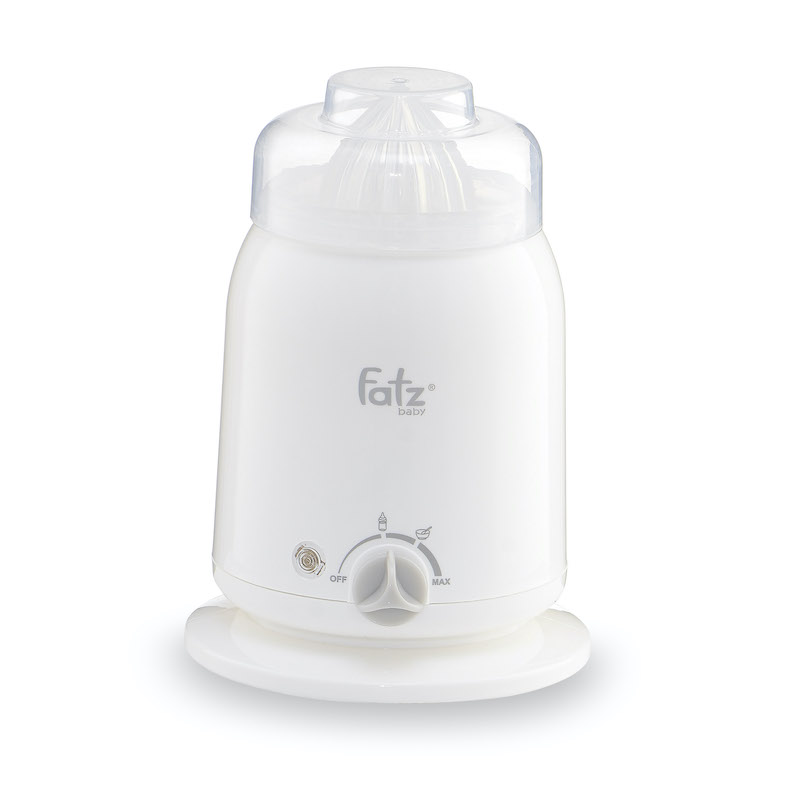
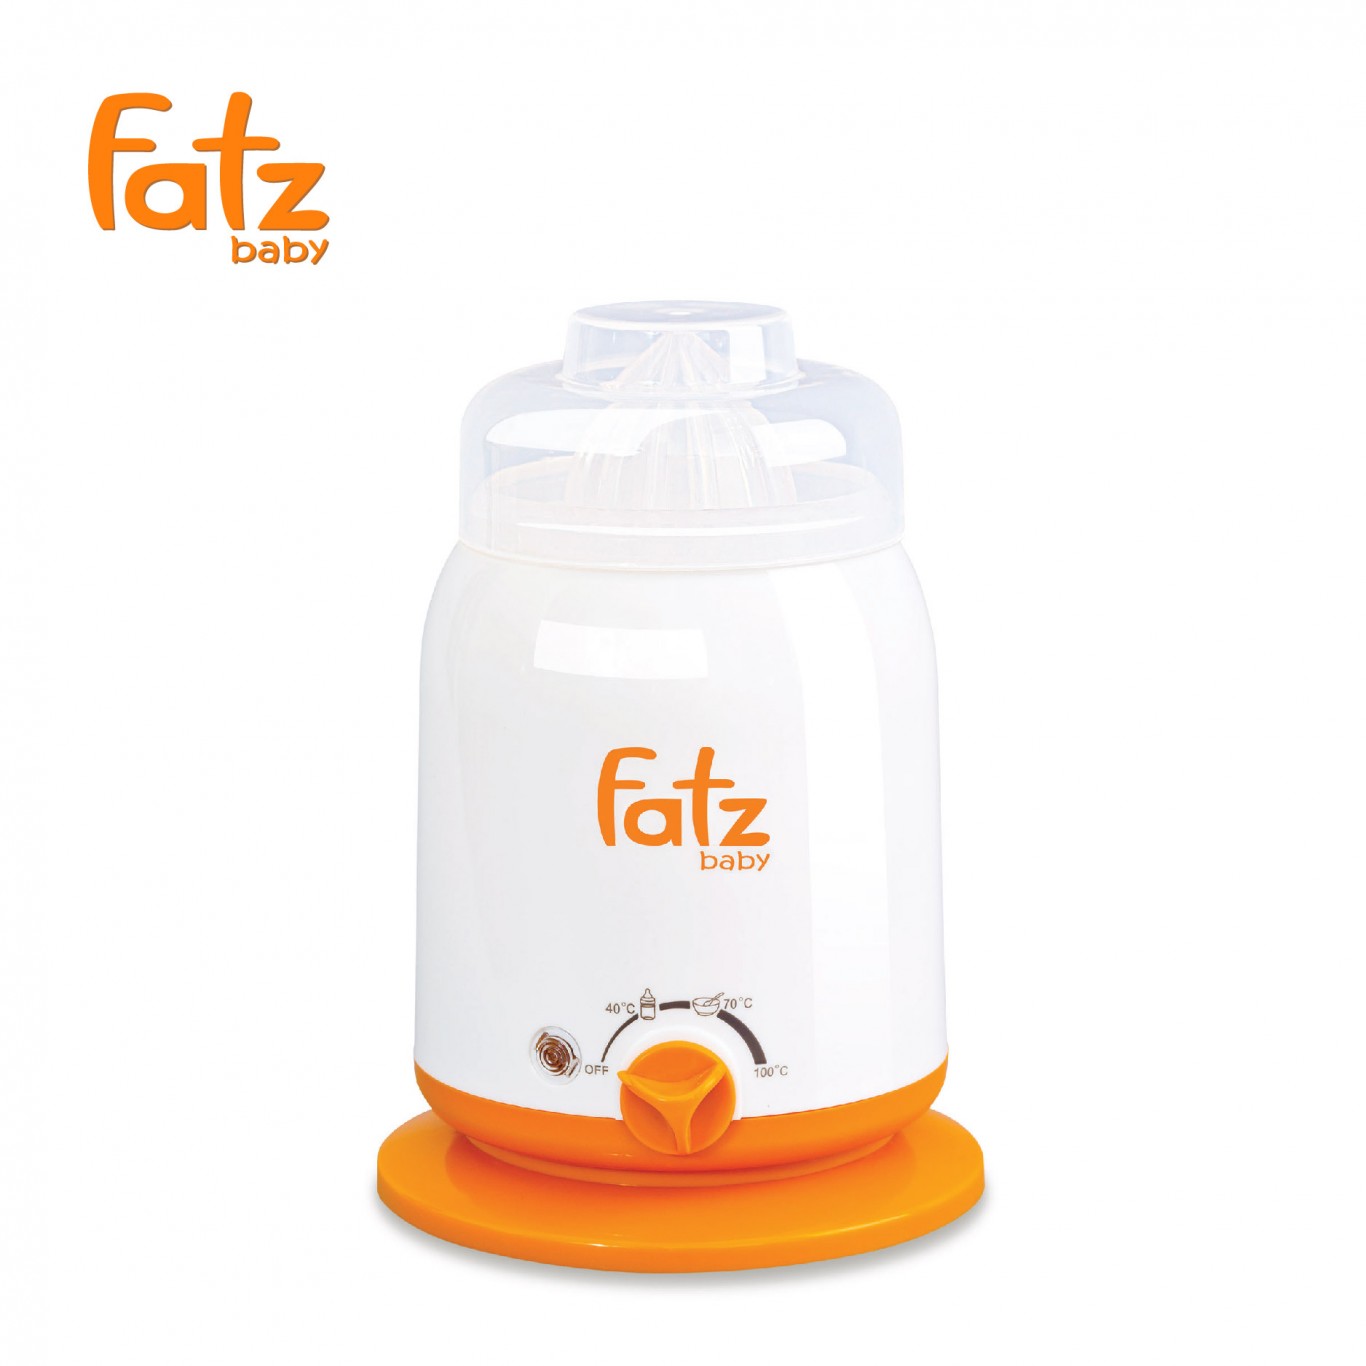
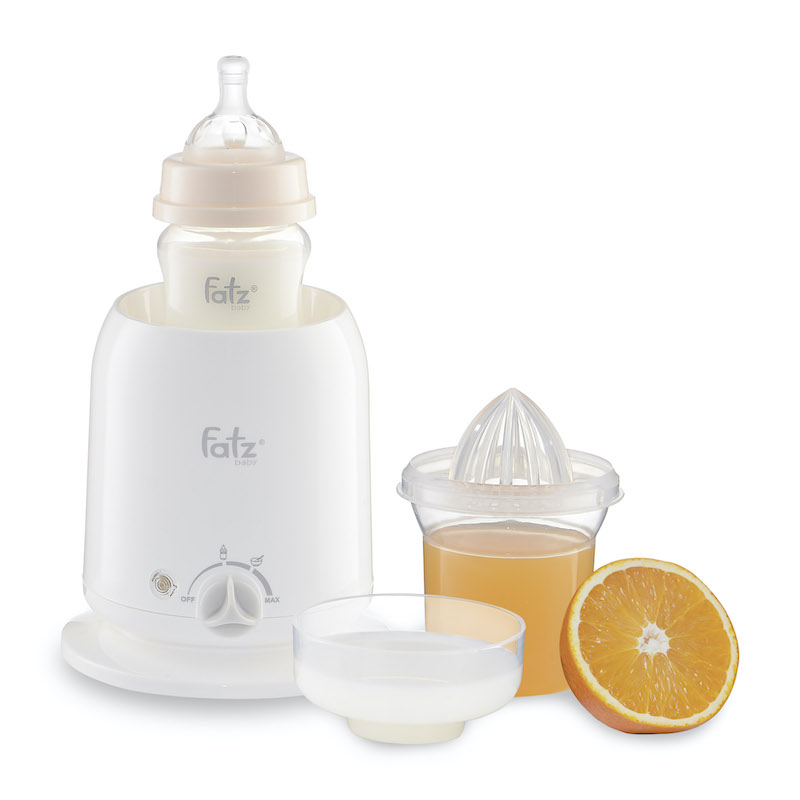
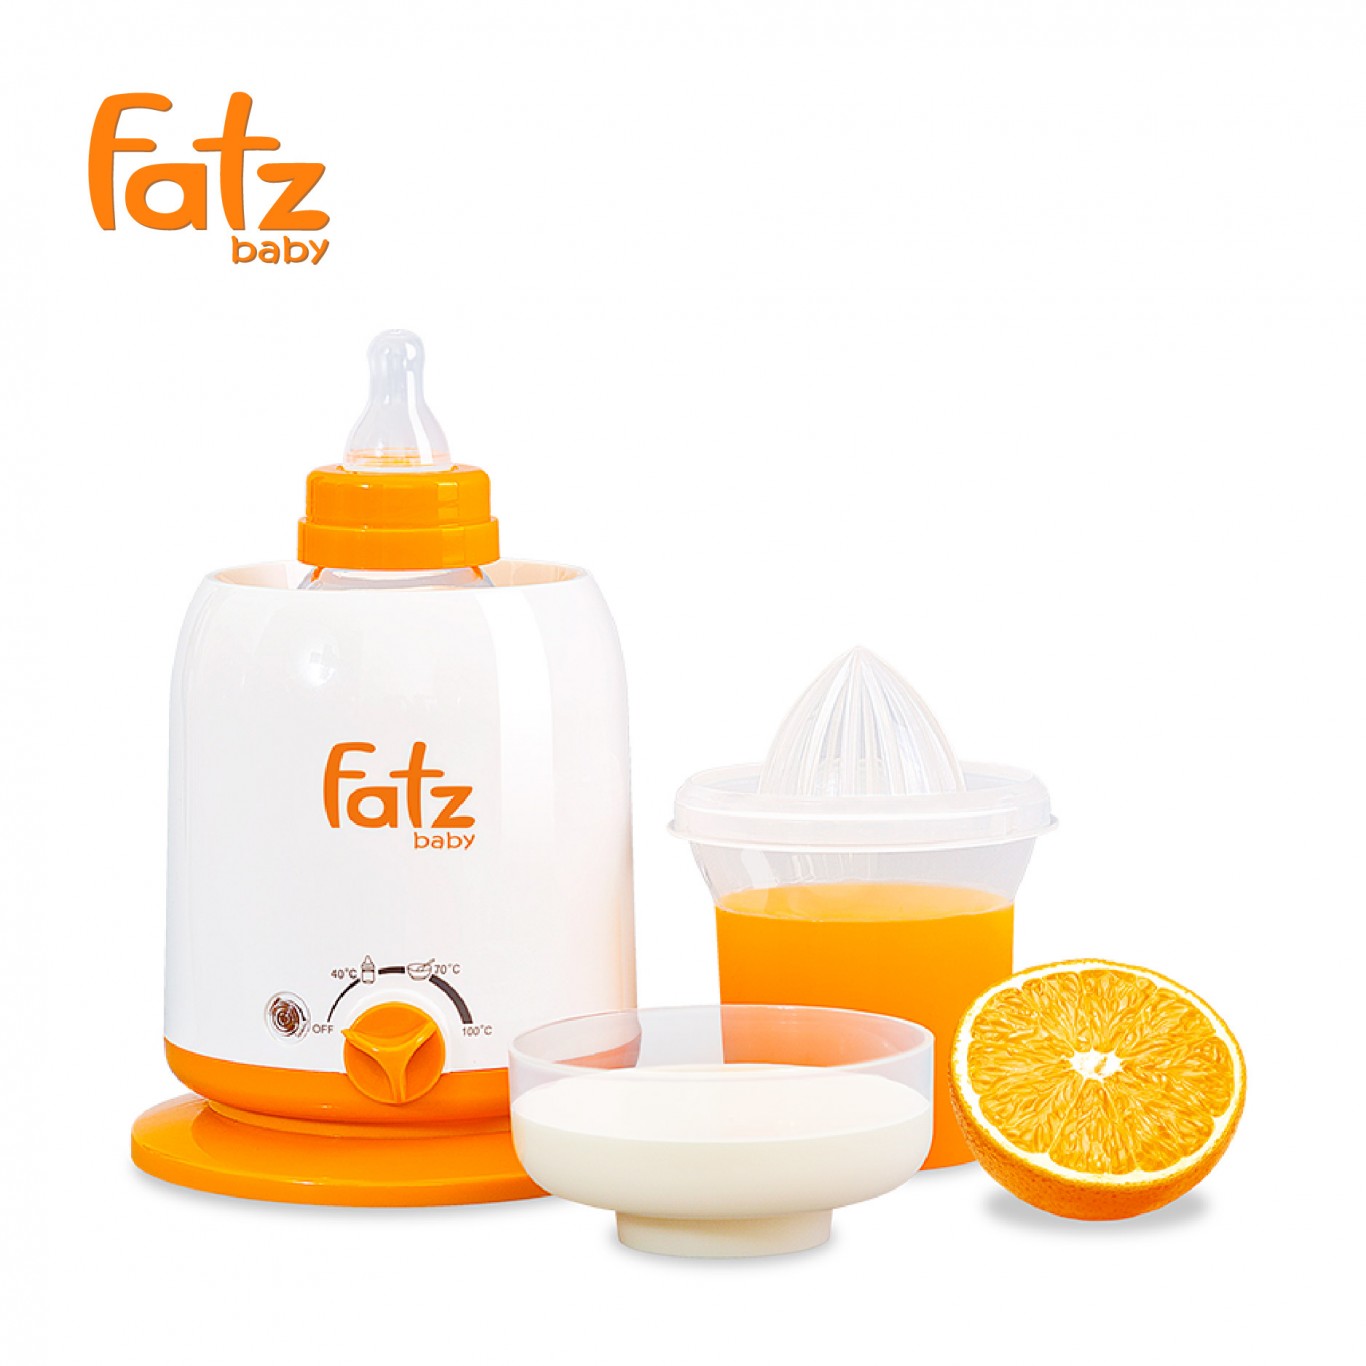
FEATURES
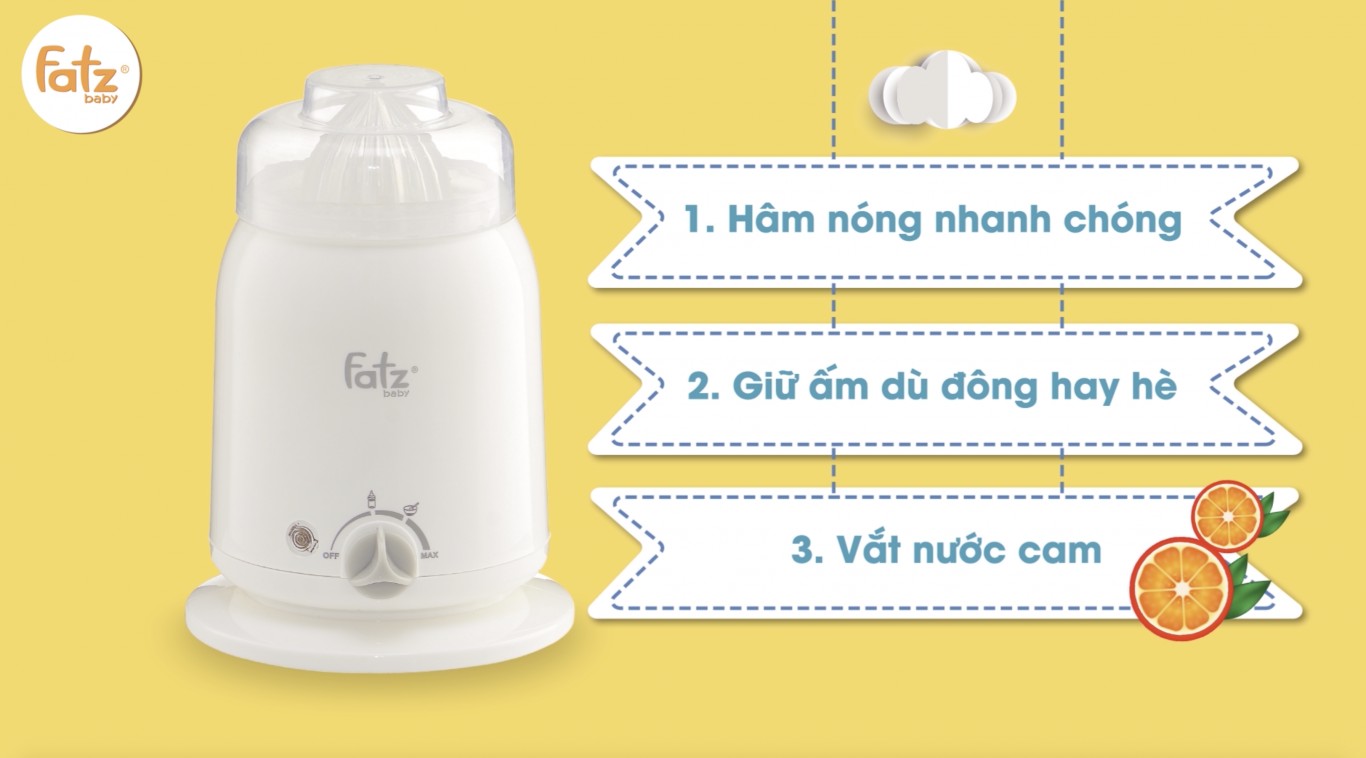
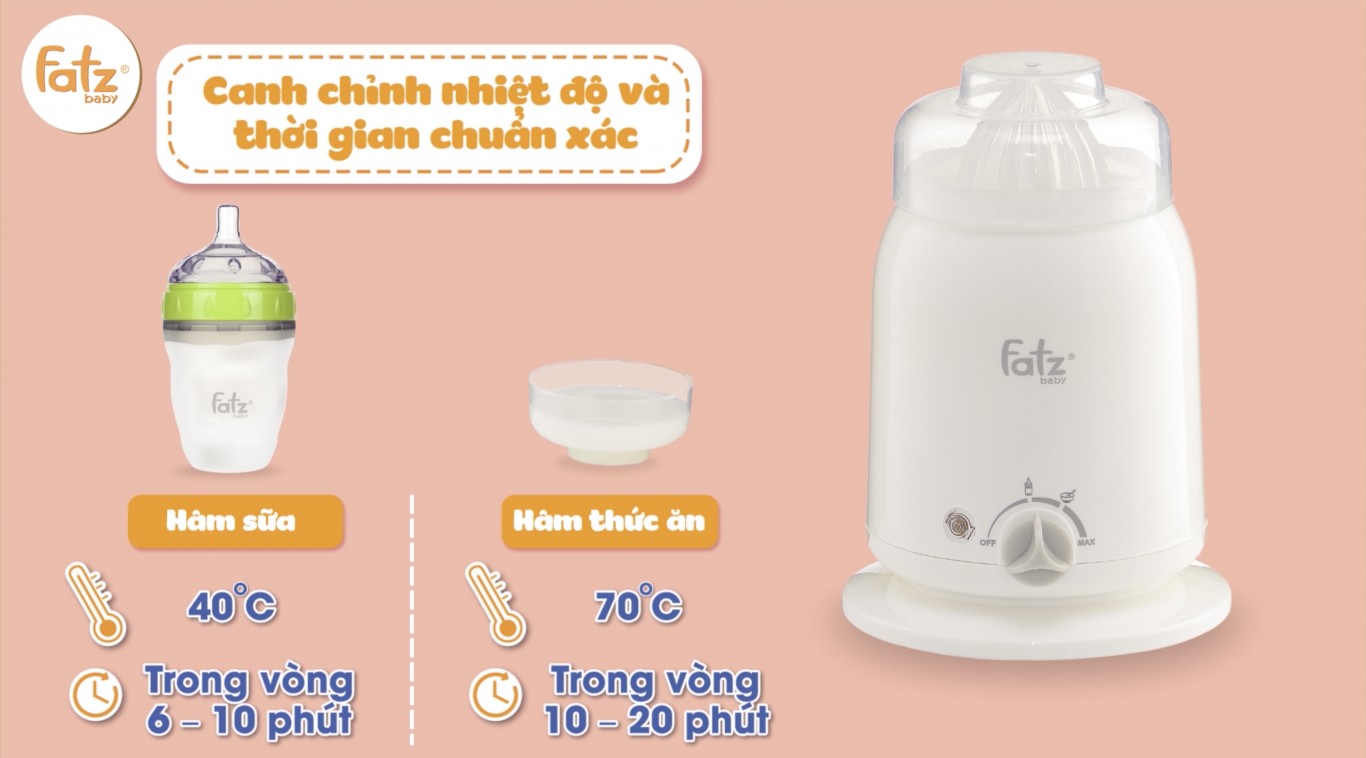
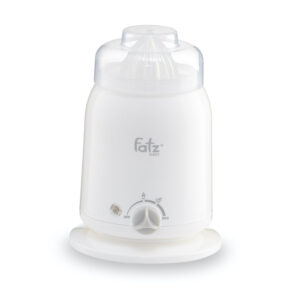
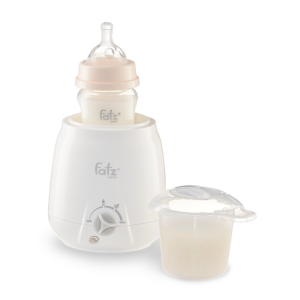
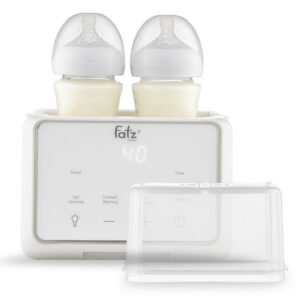
· Milk bottles are warmed up within 6 to 10 minutes
· Baby food is warmed up within 10 to 20 minutes
· Continuously adjustable rotary controller
· Heat retention function
· With useful cable winder
HEATING LEVEL GUIDE:
The speed at which the warmer heats the milk or food depends on the quality and the initial temperature of the milk or food (e.g. out of fridge 5℃ or room temperature 20℃). The following guidelines give the approximate temperature that the water* surrounding the container can reach and approximate time for warming milk or food from room temperature 20℃.
|
Control
Knob / Symbol
|
Water temperature
* In bottle warmer
|
Warming time for milk or food
|
Use
|
|
OFF
|
Switch off the warmer
(and disconnect from power supply!)
|
||
|
40℃
|
35℃-45℃
|
6-10 minutes
|
Warming milk up and Keeping milk warm
|
|
70℃
|
65℃-75℃
|
10-20 minutes
|
Warming up baby food
|
|
100℃
|
85℃-100℃
|
20-30 minutes
|
– Heating up baby food
– Sterilizing milk bottle and other baby articles. At around 100℃, most of germ are killed.
|
NOTE: The red warning lamp is lit while heating. It switches off automatically as soon as the heating plate (placed under the base of the warmer) has reached the selected temperature.
HOW TO USE:
1. Before connecting the Bottle Warmer to the mains socket, ensure that the control knob is in the “OFF” position.
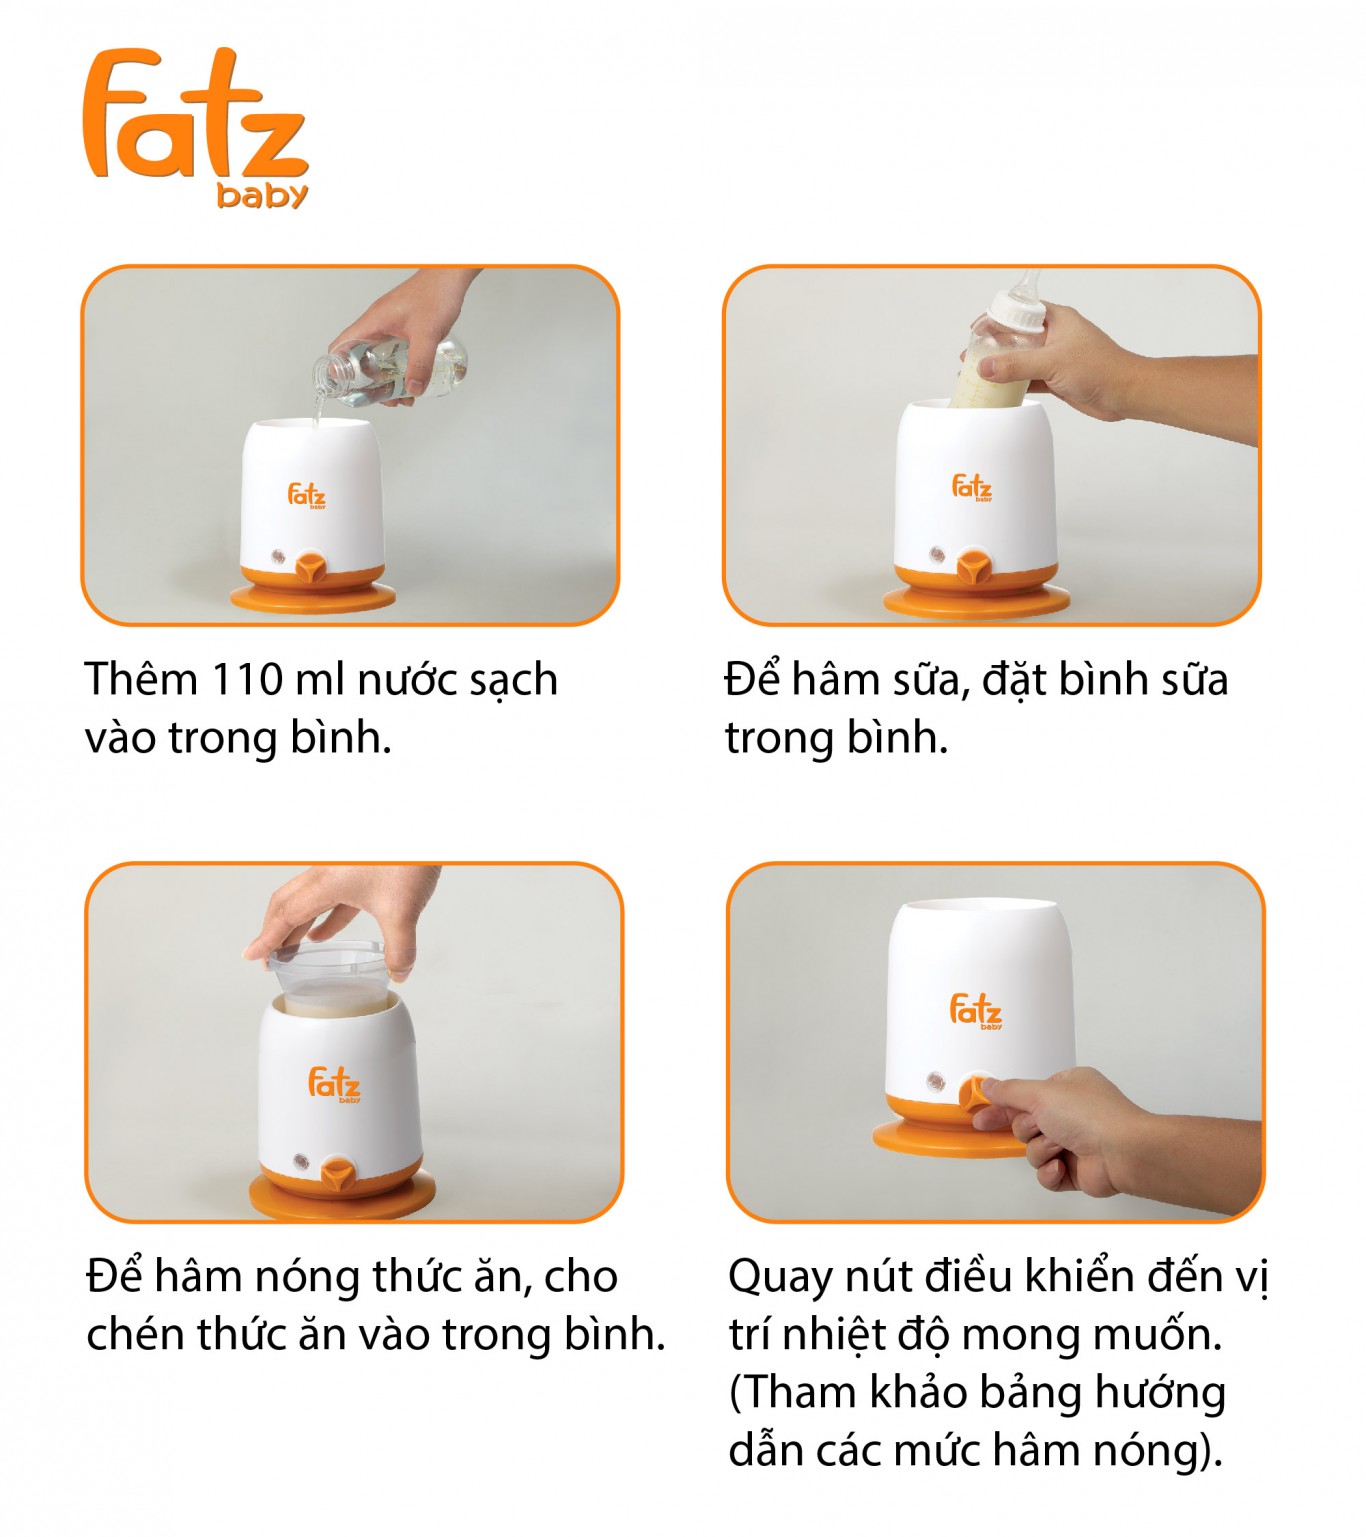
2. Pour cold water into the warmer up to the level marked 110 ml.
3. Place the bottle in the container
4. Make sure that the control knob is in the “OFF” position, then connect the bottle warmer to the mains socket
5. Rotate the control knob to the desired temperature (refer to the heating level guide).
6. The red warning lamp lights up to indicate that heating plate (placed under the base of the warmer) is in process. It switches off automatically as soon as the heating plate (placed under the base of the warmer) has reached the selected temperature and it switches on automatically as soon as the temperature of heating plate is lower than desired temperature. There shall be some warming time (as indicated in the table above) so that heat can be transferred from heating plate to water surrounding the milk bottle/food jar and then heat can be transferred form water into the milk/food inside the bottle/jar .
7. After the warming time (as indicated in the table above) and once the heating process is complete, the unit remains in a heat retaining setting.
8. When the control knob is switched to the “OFF” position, the red warning lamp goes out.
9. Before heating the baby food, put it into the warming cup, and then place the cup into the warmer containing the water.
10. Remove the power plug after use.
Advantages over microwave:
This warmer will warm up milk / food without destroying the nutrients found in the milk / food, unlike microwave oven.
